IOS Add UI Elements
Introduction
Storyboard files describe our user interface. One storyboard file can contain multiple different screens for an app, and describe how we would navigate from one screen to another.
- Open the Object Library in the lower section of the right panel.
- There are a lot of controls in the Object library, so you can use the search box at the bottom to filter and reduce the results.
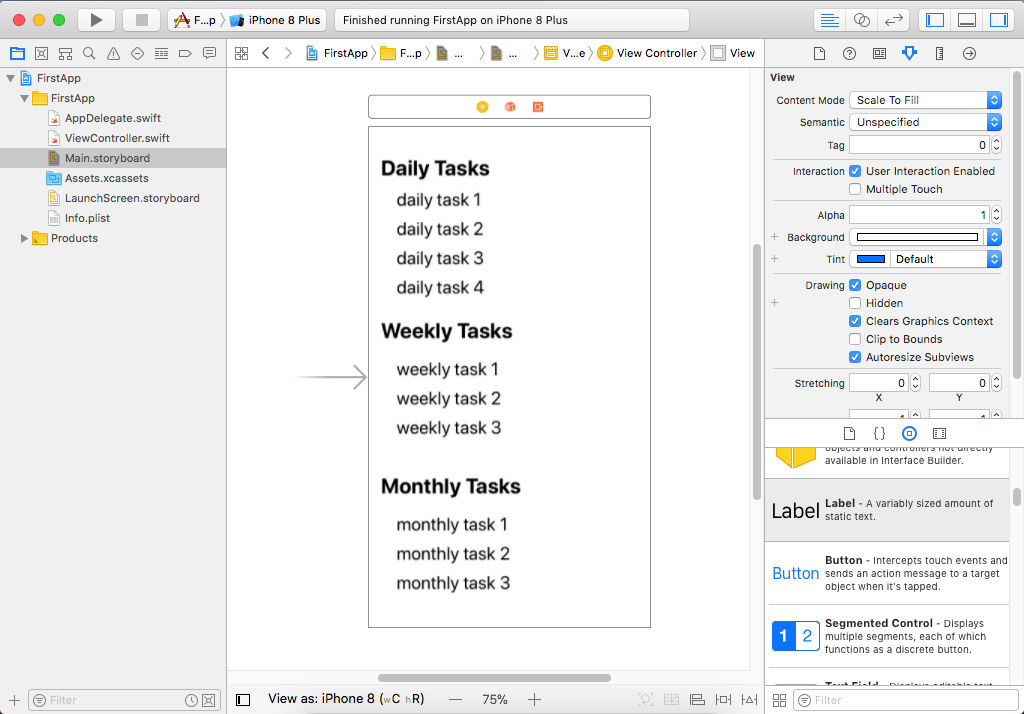
Let's drag three labels and call them Daily Tasks, Weekly Tasks, and Monthly Tasks and arrange them as shown below.
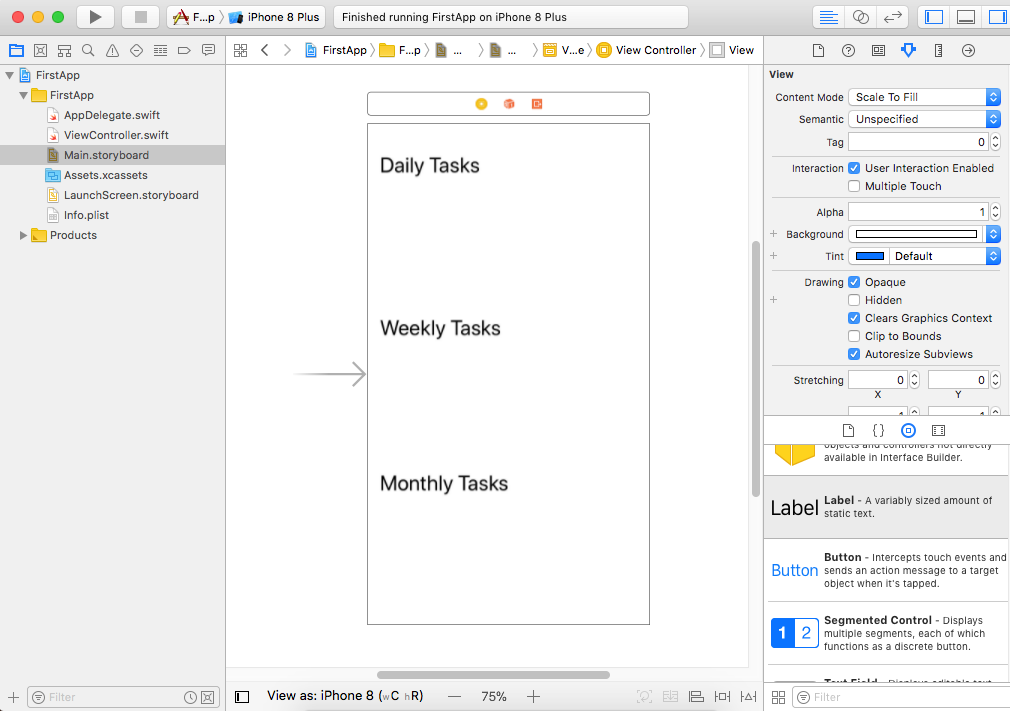
Add some more labels to the storyboard and set their values.
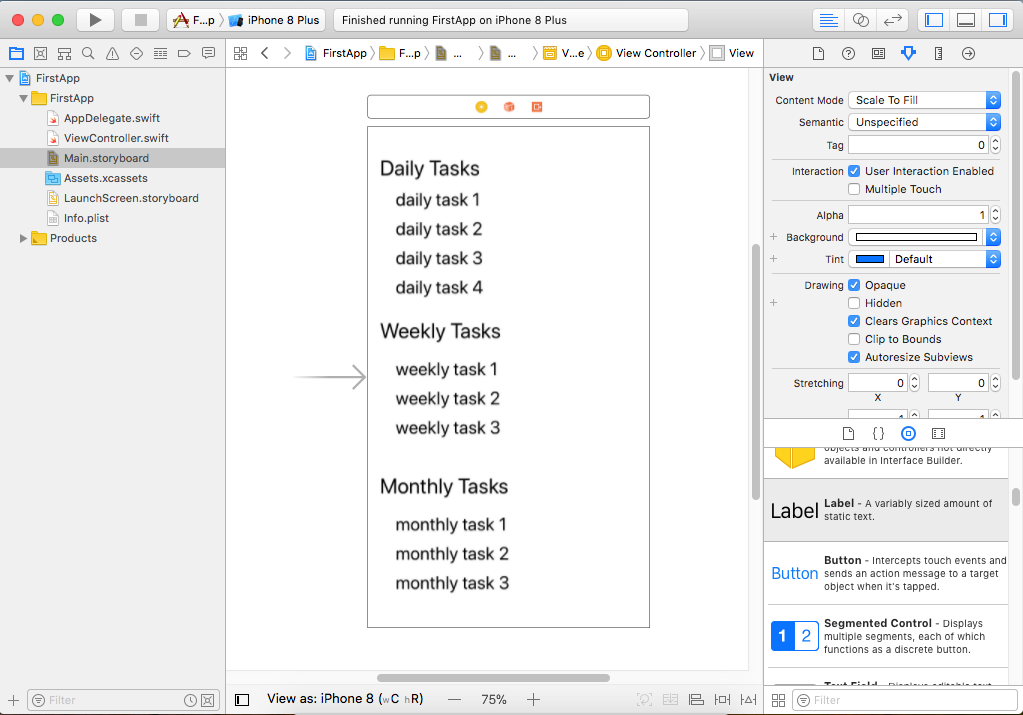
So you can see this simple list of tasks, we have three sections with headings. Now if you want to bold the headings, select the Daily Tasks label and go to the Attributes Inspector, which is the fourth icon in the Inspectors section on the right.
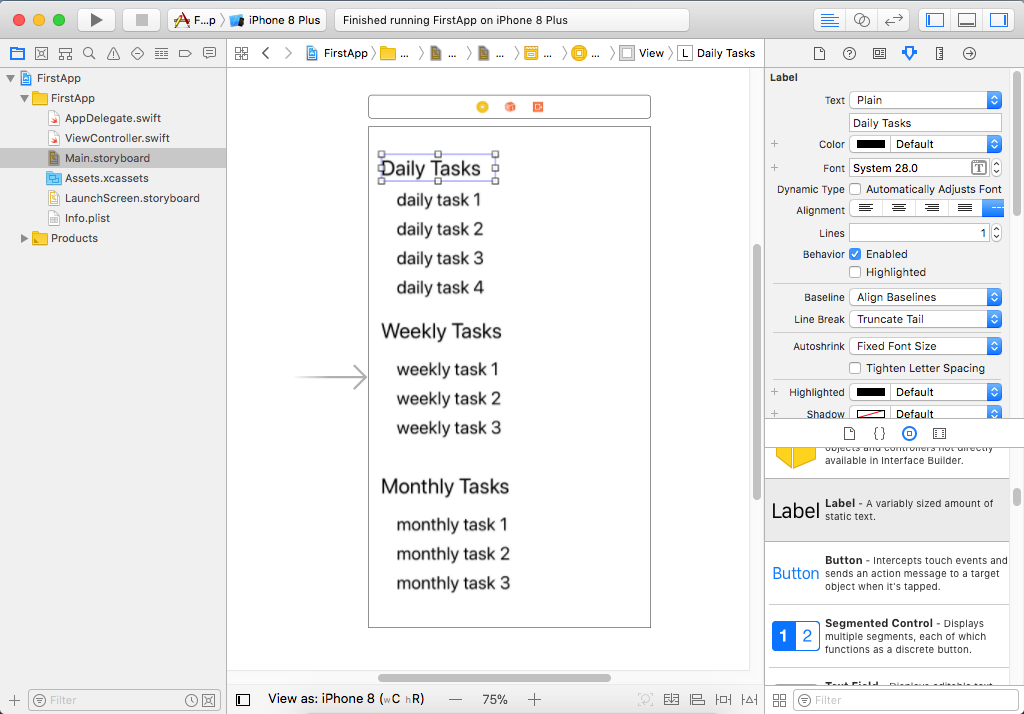
- You will see the attributes related to the label.
- There is a "T" beside the font value, clicking it will open the following dialog.
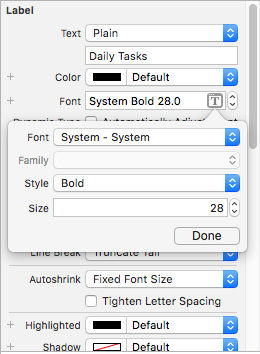
Select the Bold from the Style drop-down, and repeat the same steps for Weekly Tasks, and Monthly Tasks label as well.
Now let's add some functionality using a swift code, but first drag a button from Object Library, call it "Change Background" and arrange it as shown below.
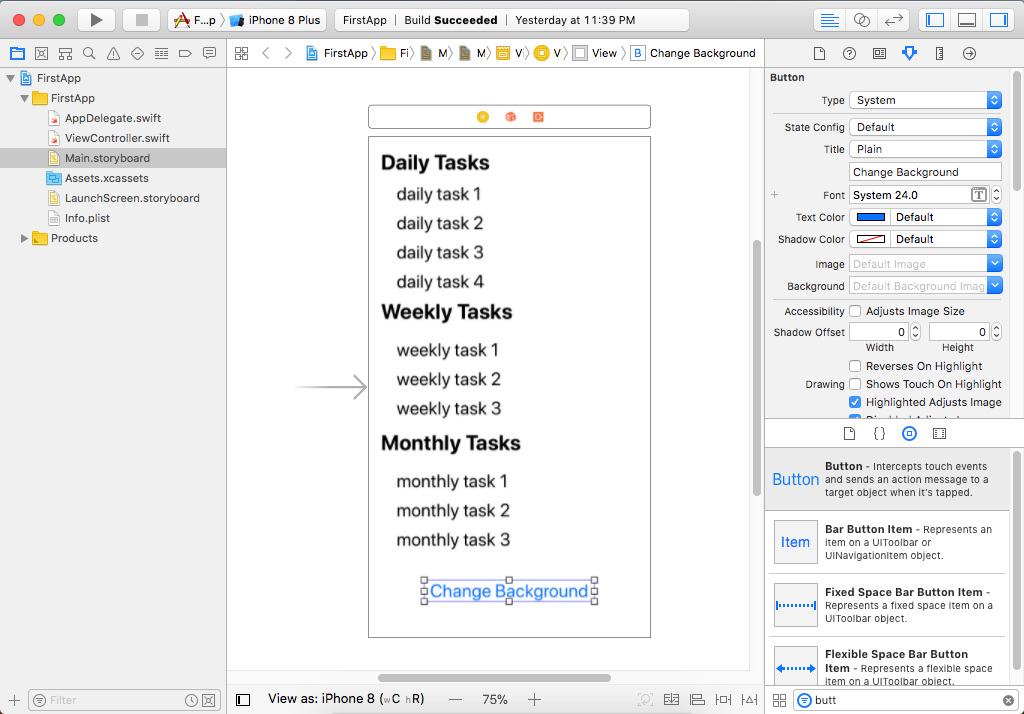
By default in iOS, buttons don't have a visible outline, they are just text, but blue to distinguish them from a label with black text.
- So now we need to write some Swift code that will run when the button is tapped.
- In some programming environments, to write code for a button, you might double-click it, or right-click it. But in Xcode double-clicking gives us the option to change the text.
- In iOS and Xcode, it is a little bit different, but first, hide the left and right panels so that we have more space.
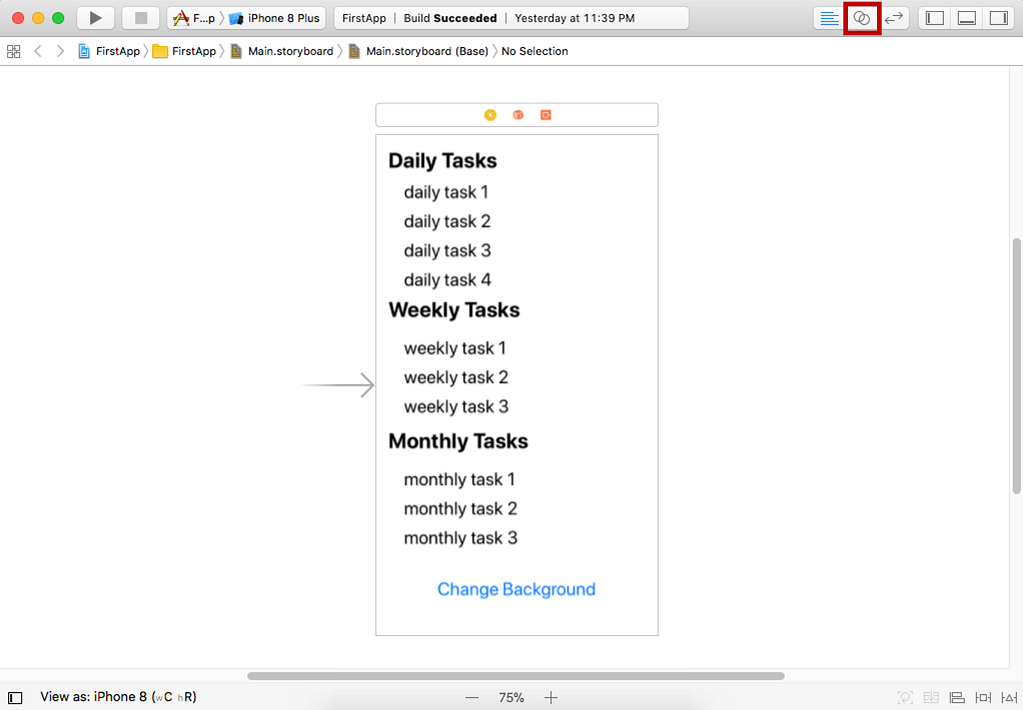
We are now in standard editor mode, and we can edit a single file at a time which is the storyboard. Click on the small highlighted button which will change the Standard editing mode into the Assistant mode.
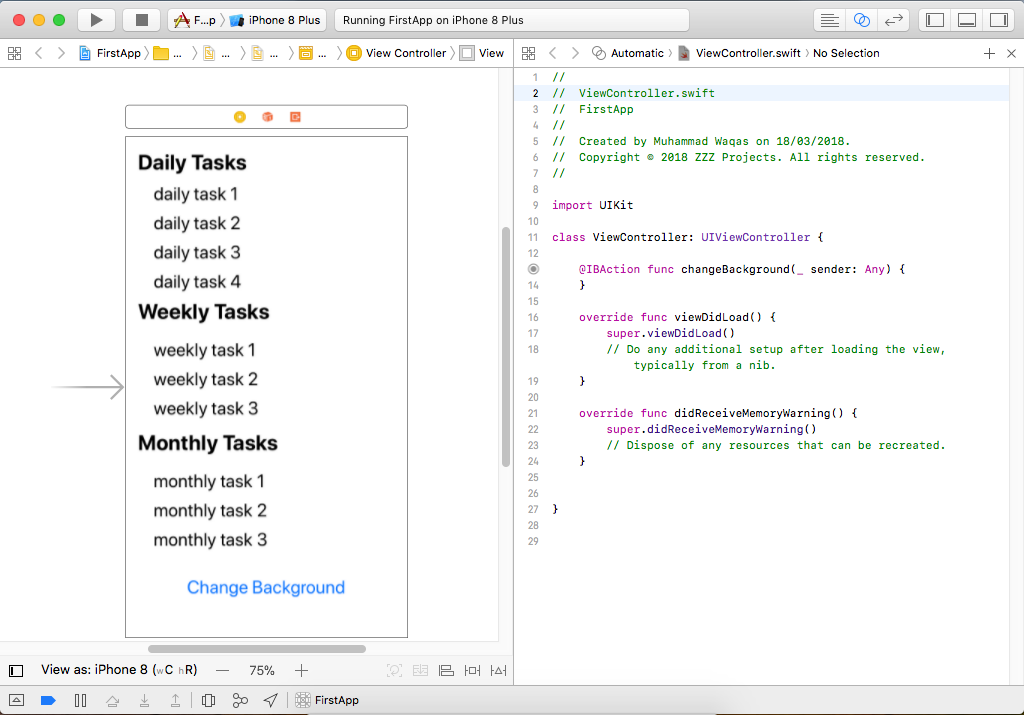
- In the Assistant mode, two files open for editing at once, these two files are not just two random files.
- The point of the Assistant mode is that the files you are looking at side by side are related to each other.
- The ViewController.swift file on the right is the corresponding code file for this Main.storyboard on the left.
- The relationship between these two files was already set up in the default project template we chose of the Single View App.
Now, all we have is the default code which contains a Swift class called ViewController.
To make a connection from a control in the storyboard to the code file, hold down the control key, click the button, and drag over into the Swift file, and you will get connector line. Drag this inside the opening braces of ViewController class, release the mouse, and you will see the following popup.
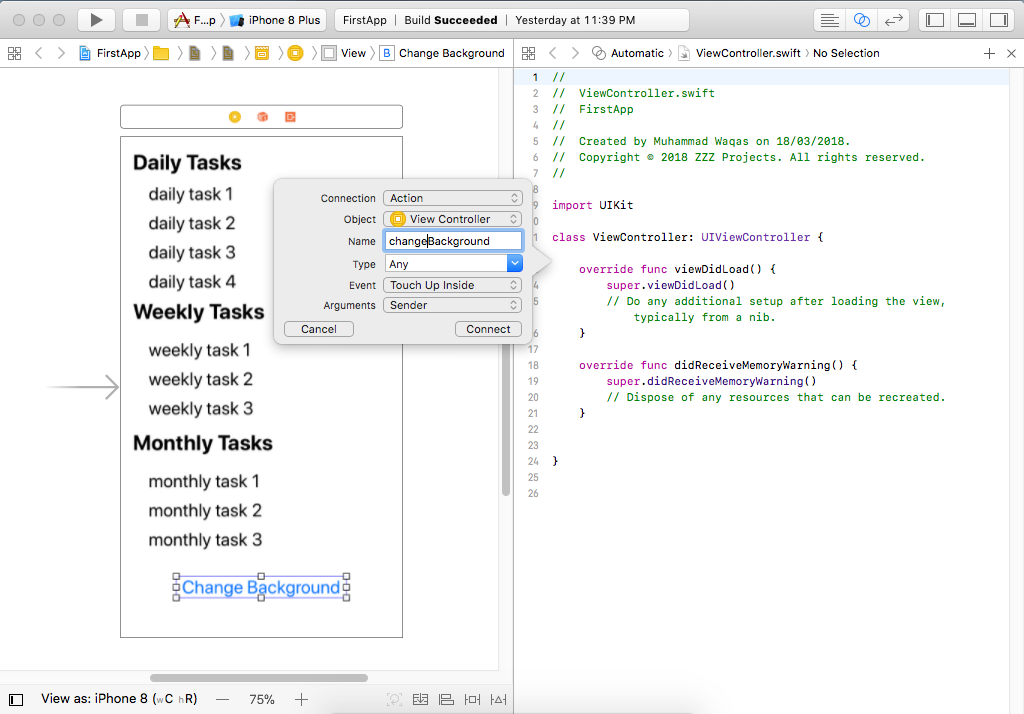 Change the connection option to action, because we want this button to cause an action in our code, and give it a name `changeBackground`.
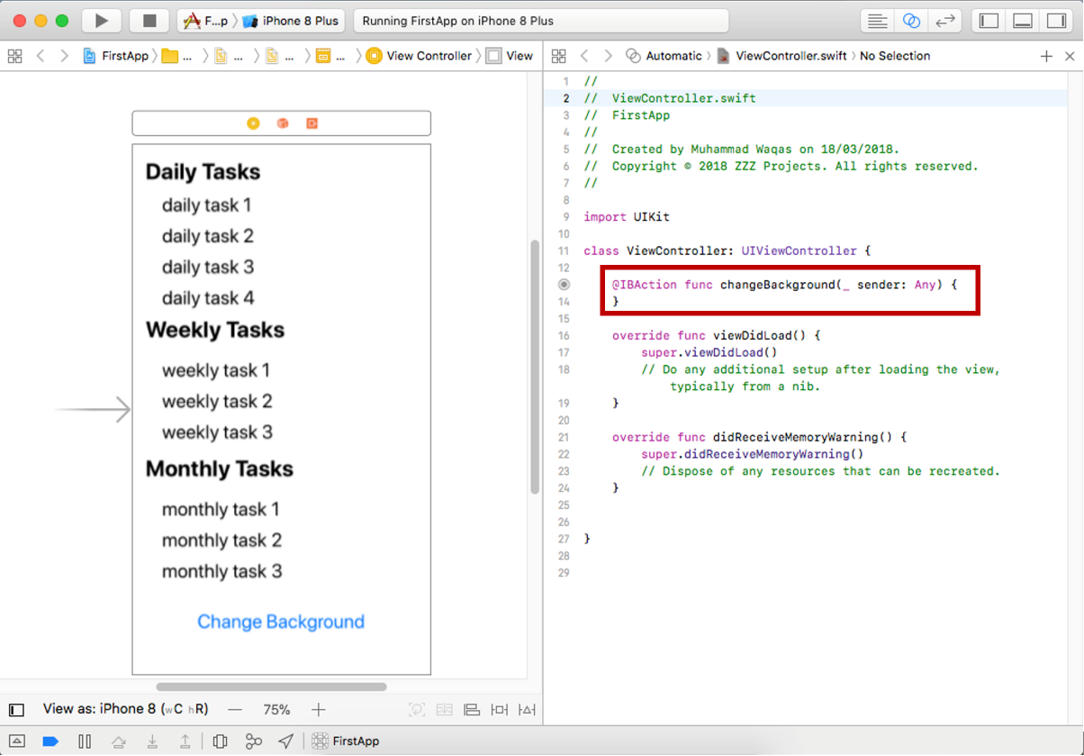
Xcode will create a new Swift function, add a single line of simple code which will change the background color. This code will be called when that button is tapped.
@IBAction func changeBackground(_ sender: Any) {
    view.backgroundColor = UIColor.lightGray
}
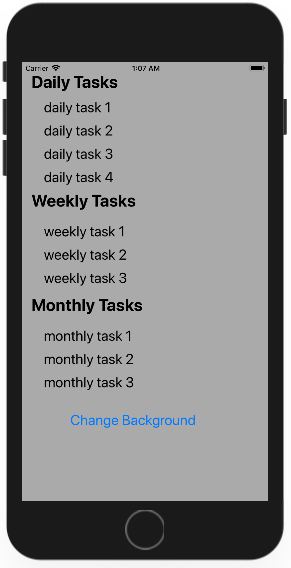
Either click the Play button or hit Command+R to build and run this app.
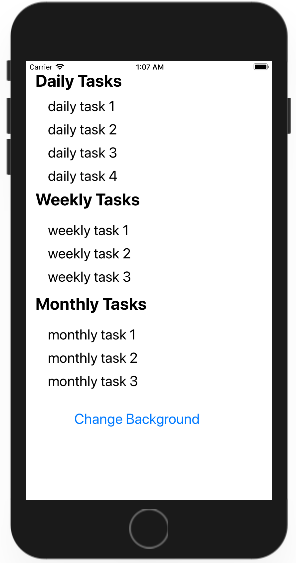
Click the Change Background button, and you will see that the background color is changed to light grey color.